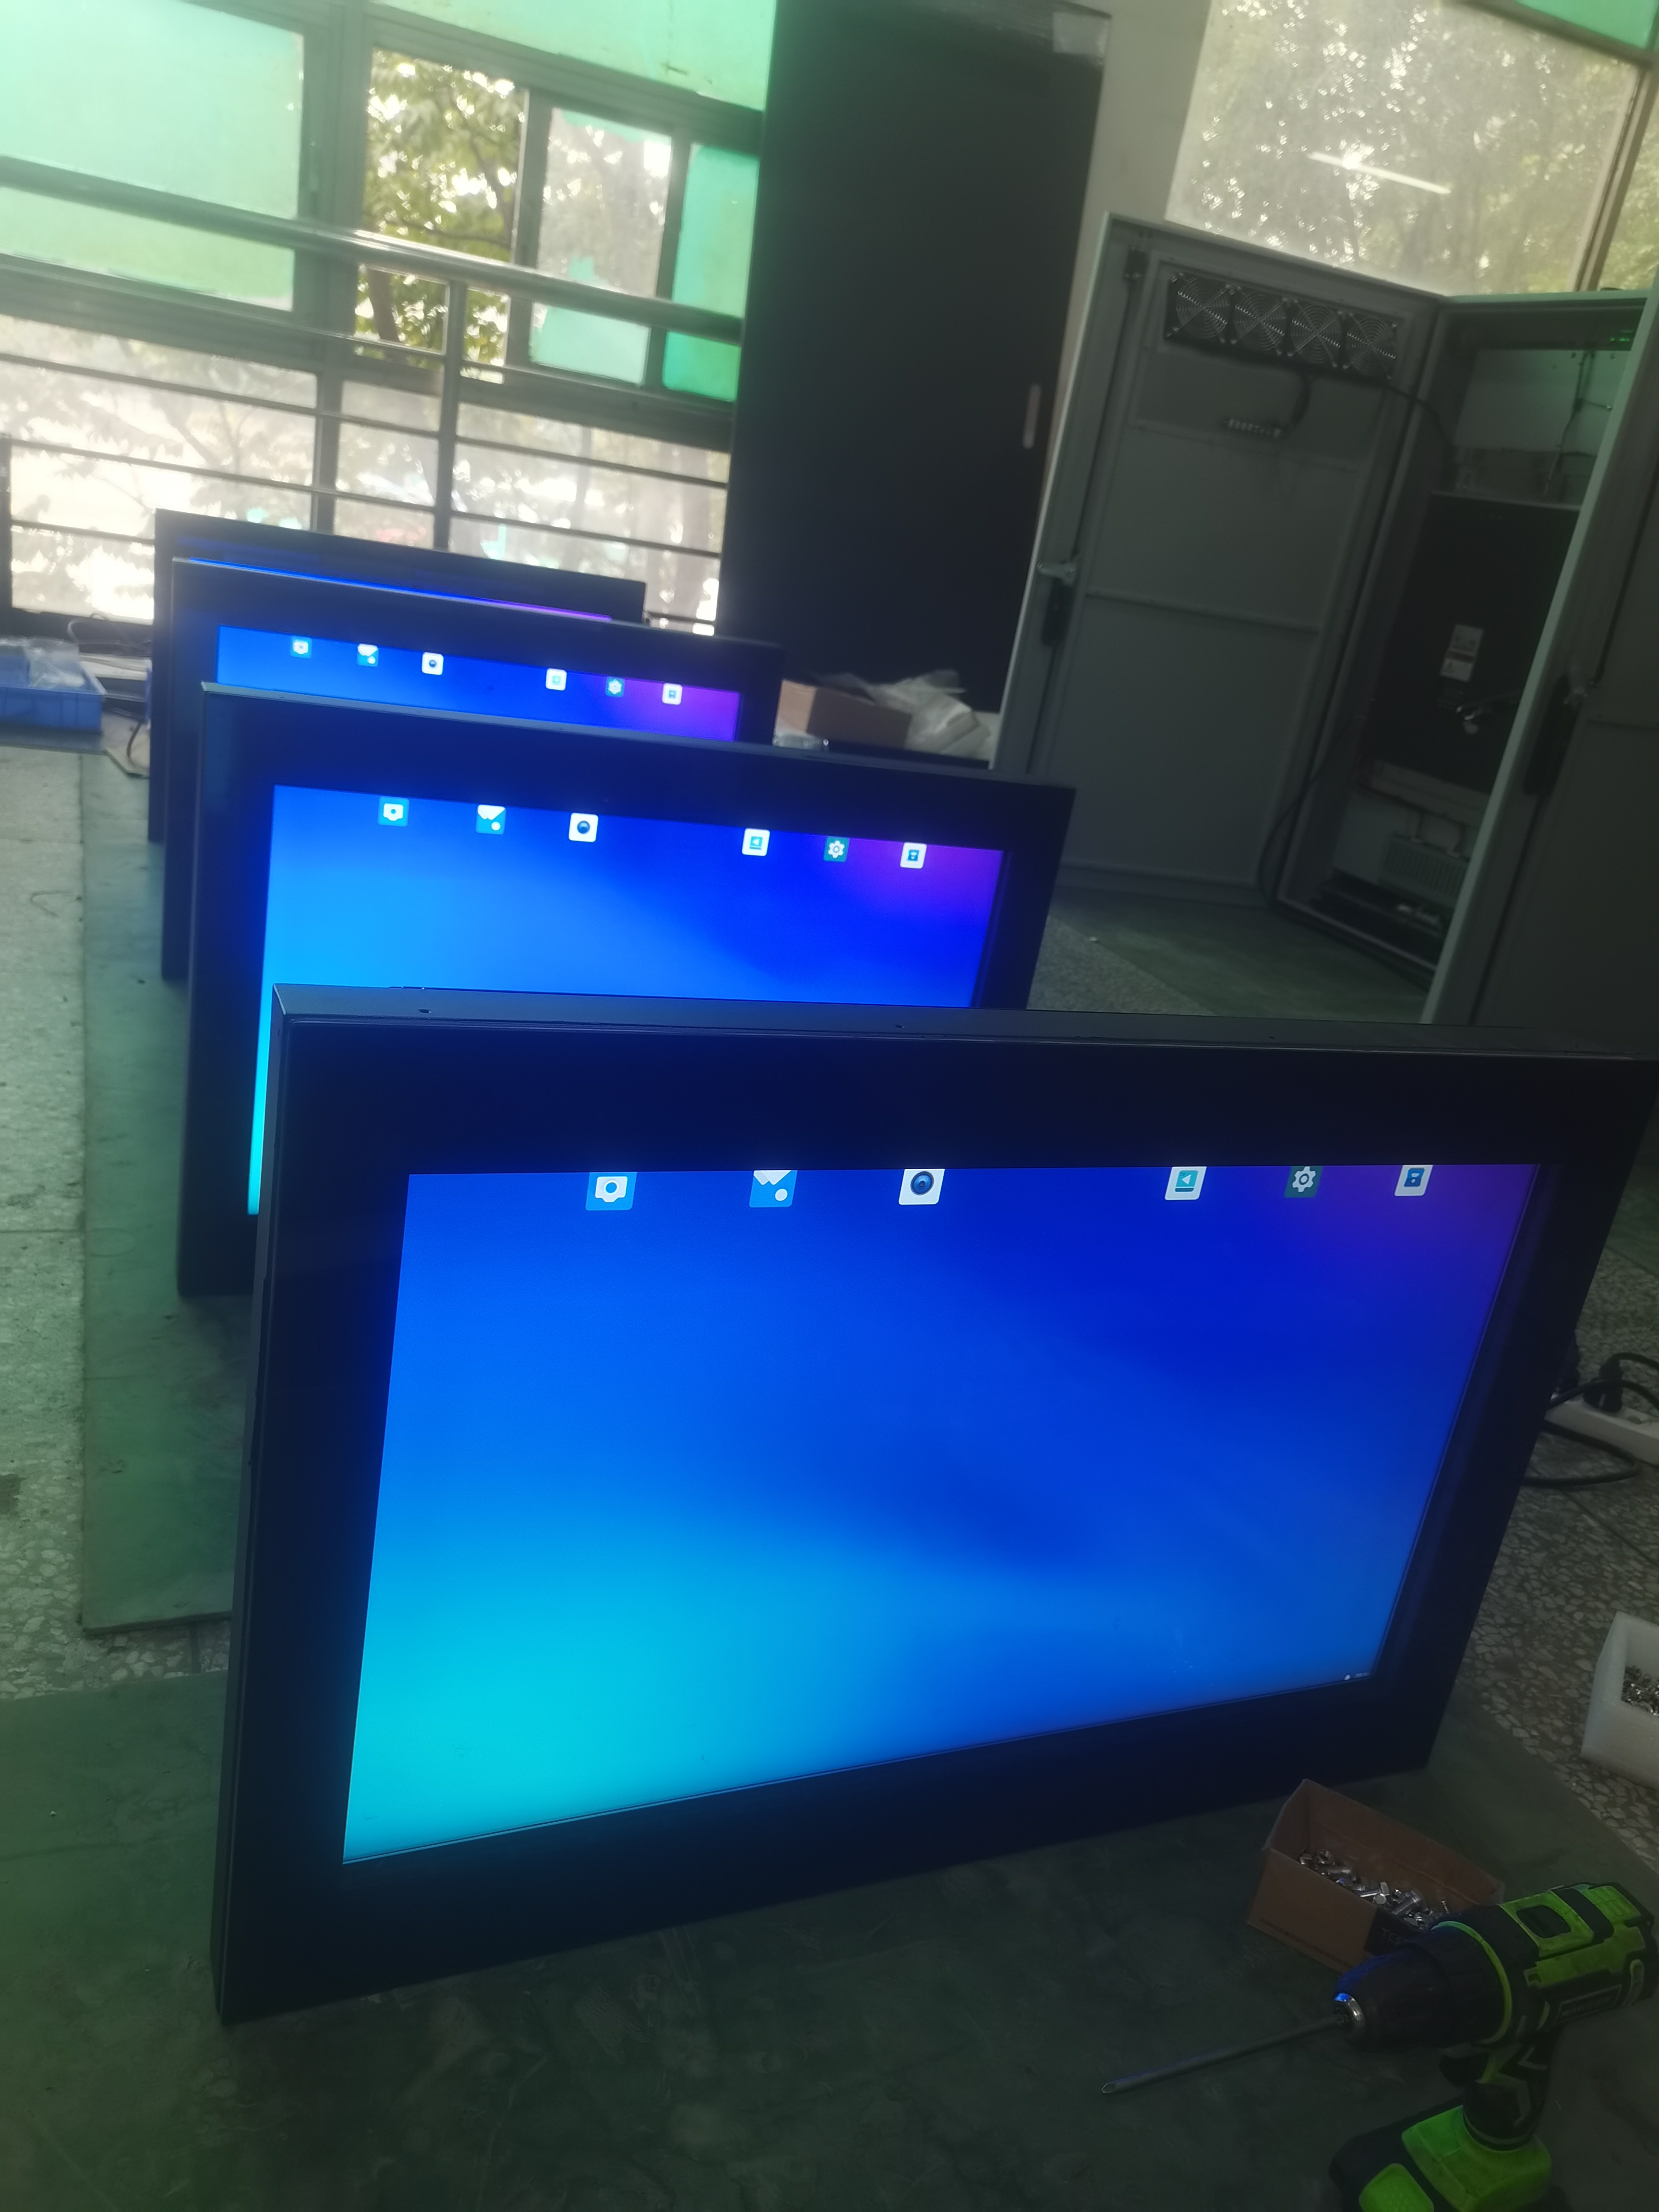
Outdoor wall mounted displays installation diagram
First step:
Unpack the package, find out the accessories in the accessory bag, prepare the required tools, measure the position where the Advertising Display needs to be installed, and set the power wiring position in advance.
Measure the distance between the Wall Mounted bracket and the upper and lower sides of the machine, and determine the Wall Mounted installation area on the wall.
Tools: 1. M12 sleeve + connecting rod, 2. Impact drill + M10 expansion screw drill, 3. Hand hammer 4. Marking pen (or tools and items that can be marked)
Step two:
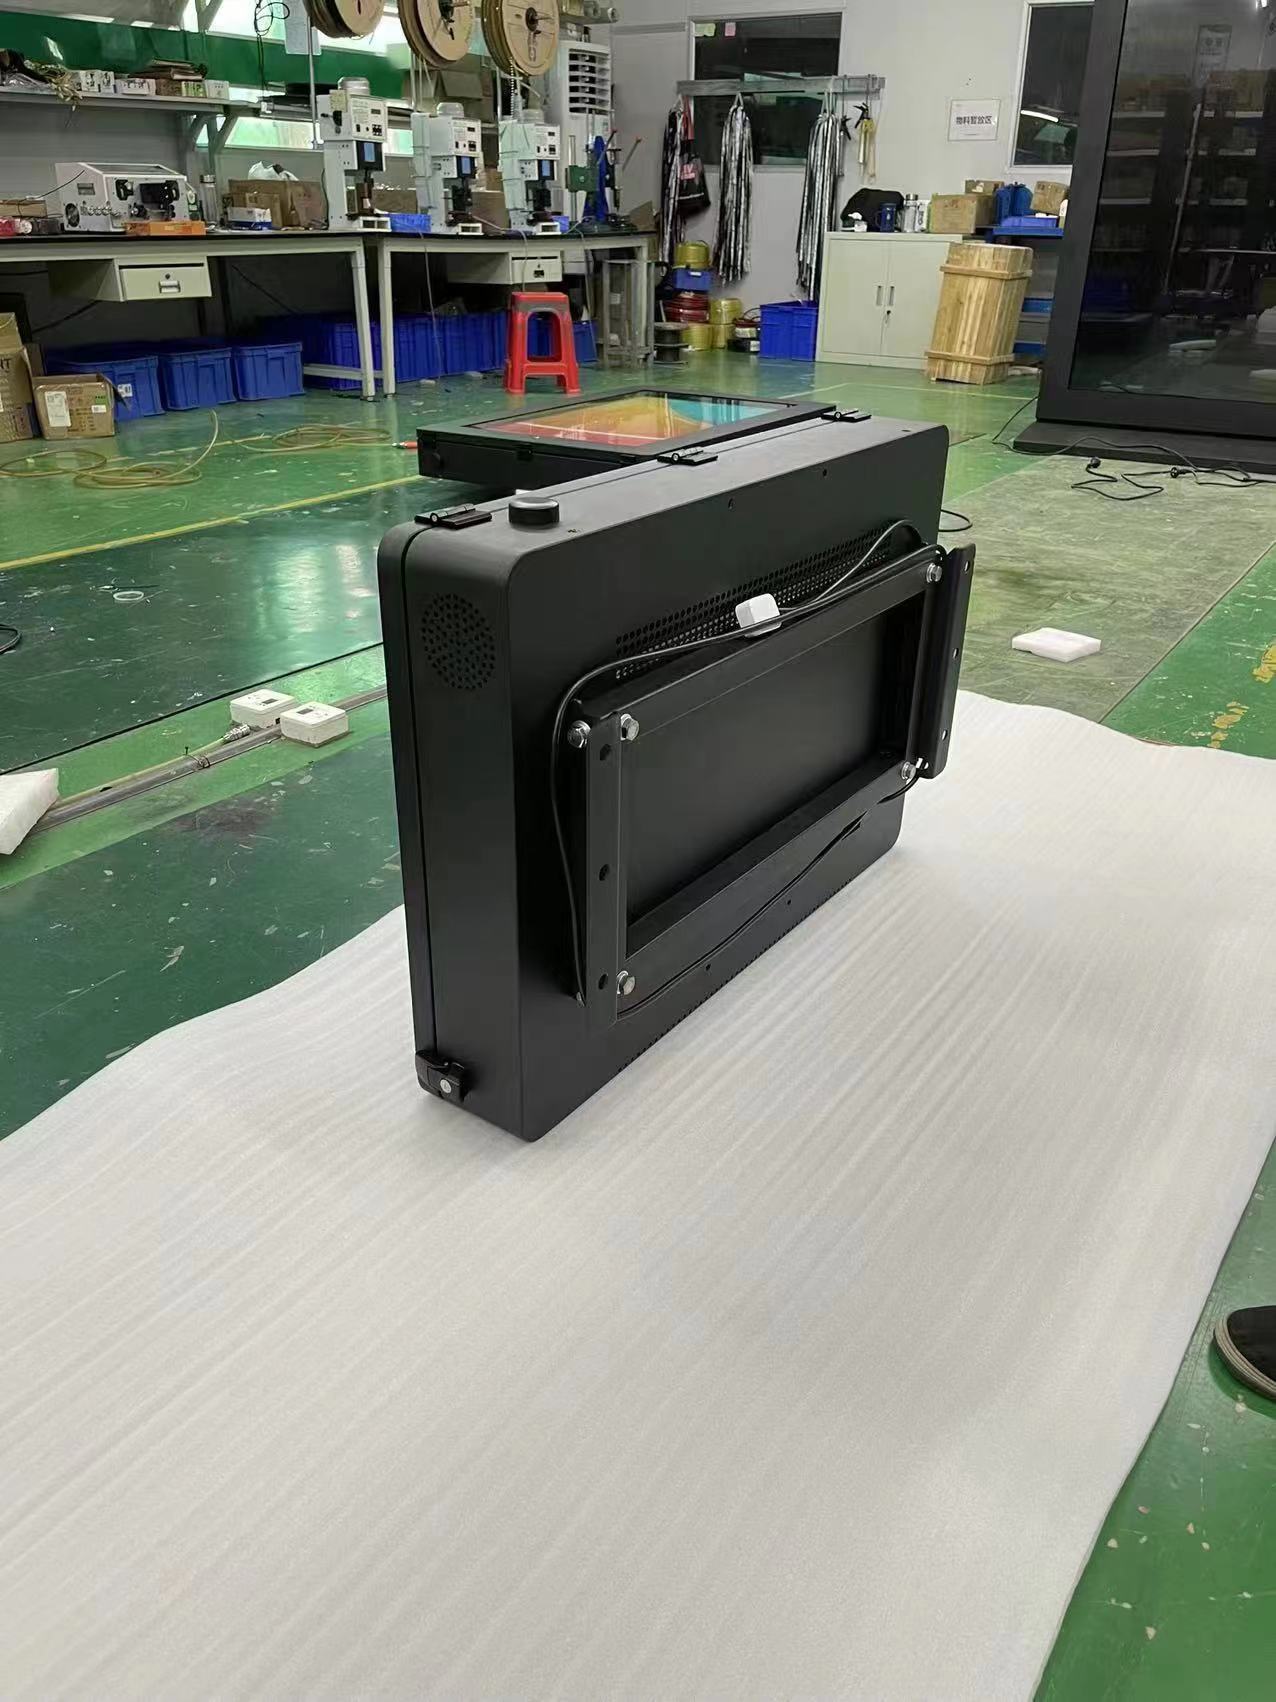
Remove the 4 screws in the middle of the back of the Outdoor Display and take off the wall bracket.
Third step:
1. Stick the removed wall bracket to the painted area on the wall, and mark the corresponding mounting holes on the left and right mounting parts on the wall.
2. Then start to drill holes on the wall with an impact drill and embed expansion screws.
3. Fix the Wall Mounted bracket to the wall and remove the middle frame
Fourth step:
Install the removed middle frame to the back of the machine, and fix the screws (pay attention to the up and down direction)
Fifth step:
1. Hoist the Outdoor Display to the position of the wall hanger and manually adjust and move it to the position of the corresponding bracket mounting hole and fix the screws.
2. Connect the power cord and network cable, etc. (you need to open the front door of the Outdoor Display to operate, if you don’t understand this specific operation, you can contact our company to send an operation Video for guidance)


