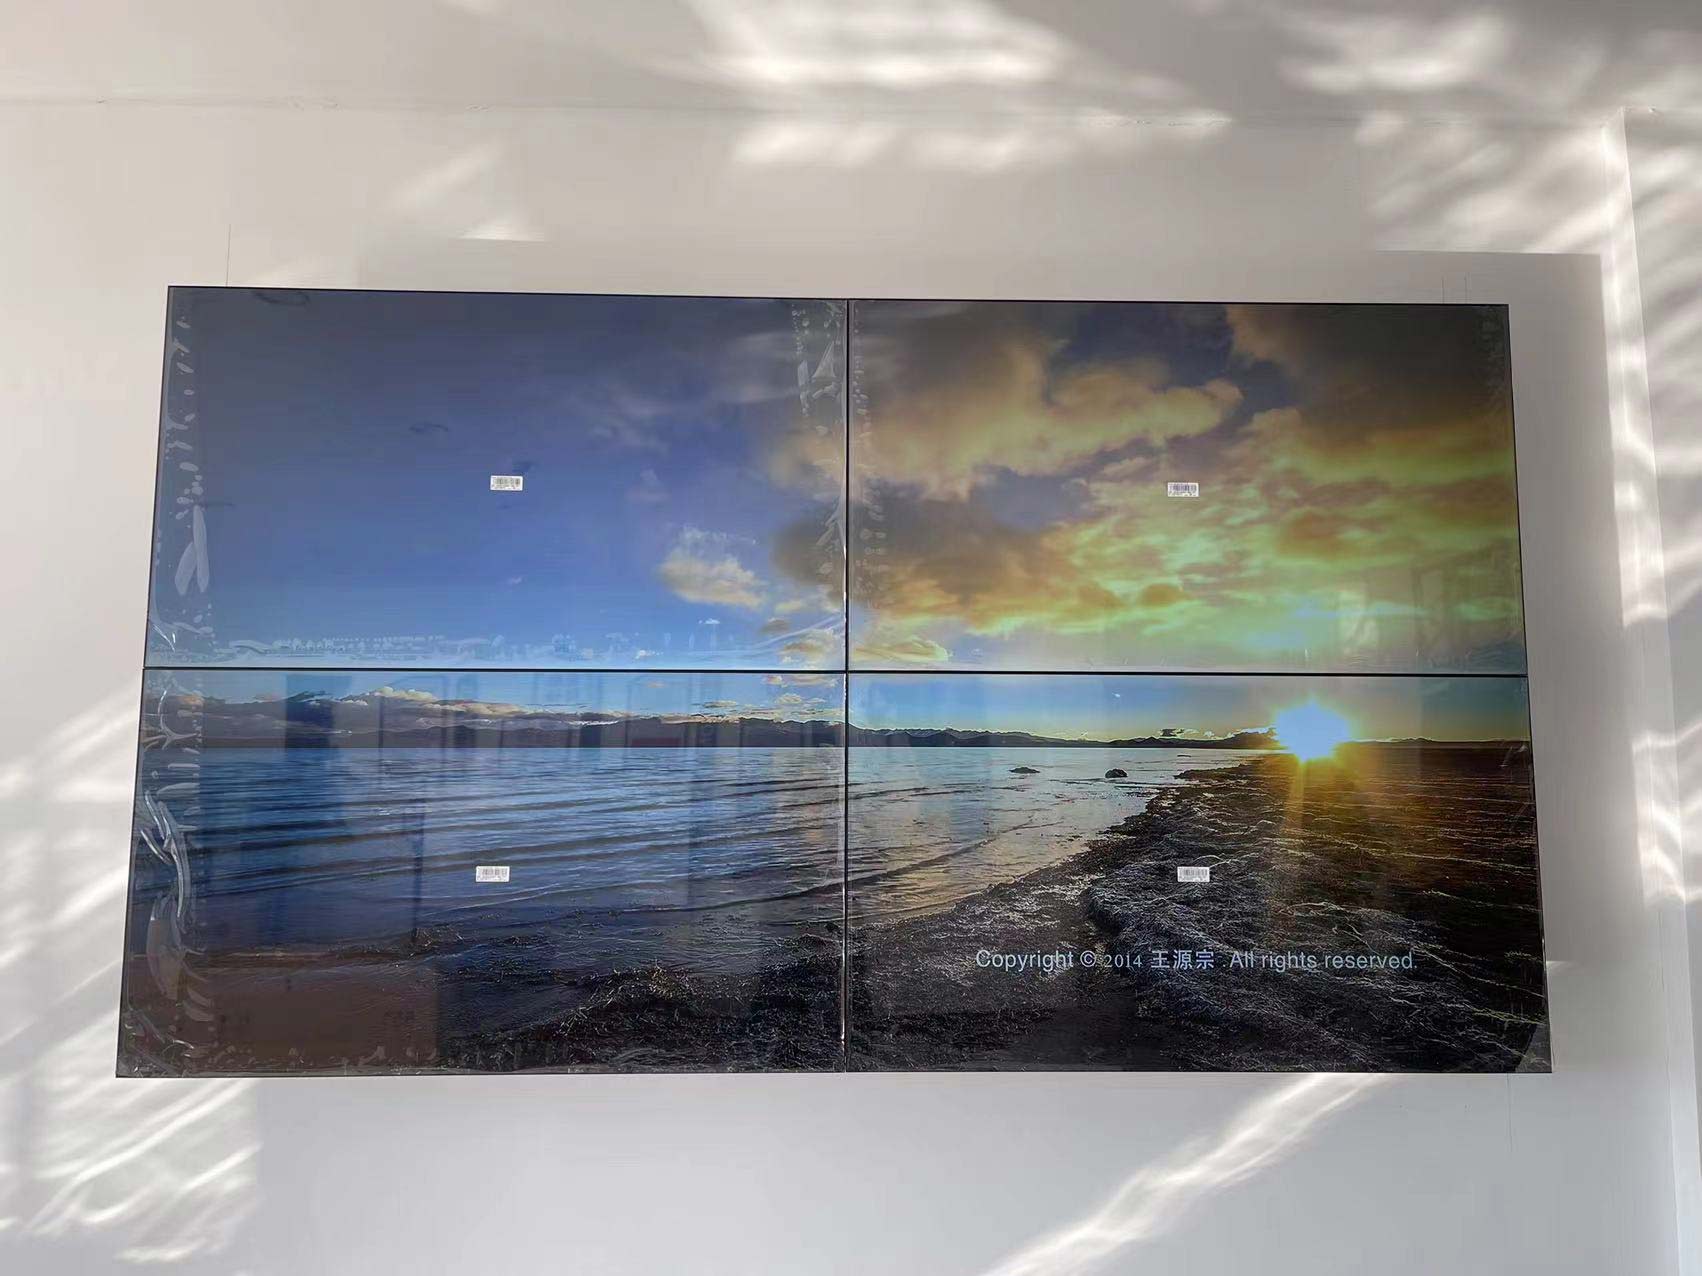
Customer on-site installation and precautions for LCD splicing screens
1. First establish the installation mode:
The installation mode can be set according to the installation site or the scale required by the user: wall-mounted, embedded, rack-mounted, cabinet-mounted, wall-mounted, arc-mounted, hydraulic front-maintenance mounted, floor-standing bracket, or vertical Bracket installation and other flexible installation methods.
2. Perform wiring:
When installing an LCD splicing screen, the power lines and signal lines should be separated during wiring and installed in different places to avoid interference with each other and causing unnecessary trouble for subsequent maintenance.
3. Arrangement requirements for surrounding light:
The installation environment of the surrounding light should be arranged according to the special requirements for brightness and light of the LCD splicing screen. Be careful not to make the light in front of the screen too strong or too weak, otherwise it will affect the display effect of the large LCD splicing screen.
4. Installation frame requirements:
① In order to enhance the protection of the LCD splicing screen, the installed frame wrapping must be detachable, and a gap of at least about 25mm must be reserved between the inner edge of the outer frame and the outside of the splicing wall, and more if a large-scale splicing project is installed. Widen the spacing appropriately as the number of rows/columns increases.
② In the later maintenance of the cabinet, the maintenance channel should in principle be no less than 1.2m wide; and its detachable side strips should press the edge of the screen, leaving a gap of 3-5mm. After the cabinet and screen are installed in place, it is best , and then fix the detachable side strips.

