Detailed explanation of LCD splicing screen installation tutorial
Detailed explanation of LCD splicing screen installation tutorial
LCD splicing screen is different from LCD TV. LCD splicing screen has rich functional characteristics, can be used for 24 hours for a long time, and has a wide range of applications, so now LCD splicing screen can be seen everywhere, because the bazel of LCD splicing screen is very narrow, in The LCD splicing screen installation process is easily overlooked by many people, resulting in the maintenance of later projects and shortened life. So how to install LCD video wall?
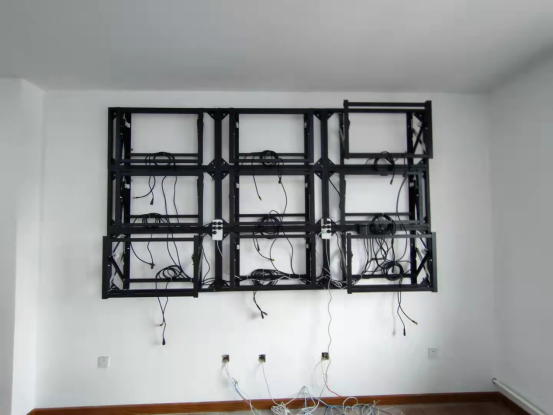
1: First, confirm the fixing method of the LCD splicing screen, whether to use a floor bracket or a cabinet, or a wall mount, and measure the distance from the bracket to the back wall (at least one person can be accommodated in the back for maintenance)
2: The bracket must be firm, and the bearing weight is determined according to the size and quantity of the LCD video screen, which is generally 1.5 times the weight of the screen, so that it is stable up, down, left, right, front, and back.

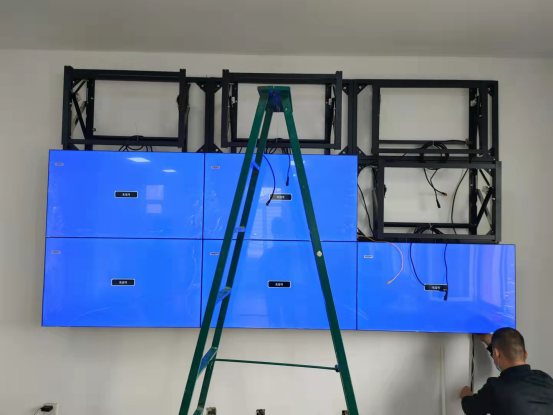
3: After the bracket is installed, start to install the screen. The screen installation sequence is from left to right, and from bottom to top. Adjust the gap between the screen and the screen to ensure horizontal and verticality.
4: After the screen is installed, it is the wiring. Generally, the network cable is used as the control line between the splicing screens. Each screen is connected in series with the network cable. The network cable of the first screen should be connected to the serial port on the computer, so that the entire screen can be controlled.

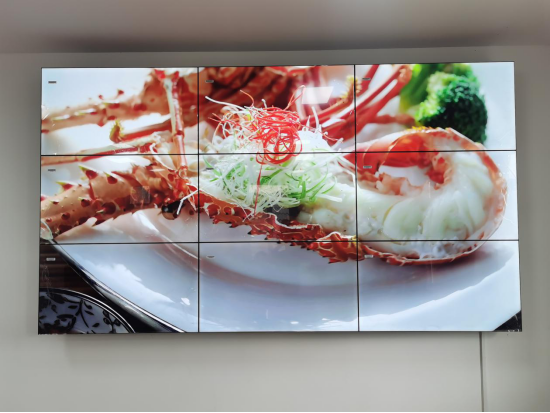
5: How to connect the signal line: Each screen needs to insert a signal line. Now the HDMI high-definition line is used more in the world. The signal lines on the screen are connected to the distributor or matrix or multi-screen processor, so that each screen The screen can complete the display image.
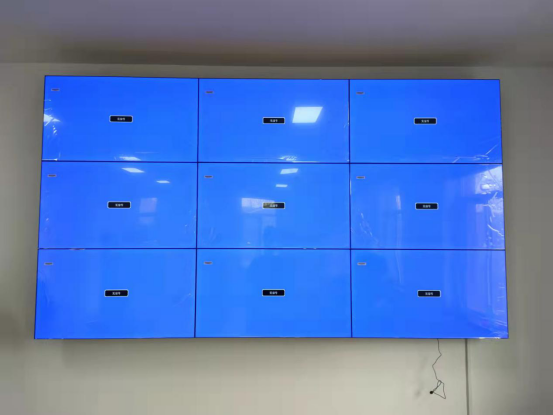
6: Debugging stage: After the screen is powered on, the screen can be debugged. Each screen displays the address code through the computer serial port, assigns the location of the screen, and sends instructions to it, and the screen debugging is completed.


For an excellent project, perfect installation is very important, not only can it beautify the effect of the entire screen, improve the visual effect, but also have a significant impact on the maintenance and service life of the screen in the future. If you don't know the installation method of splicing screen, welcome to contact us!
Edited by Wendy
Website: https://www.beloonglcd.com/
