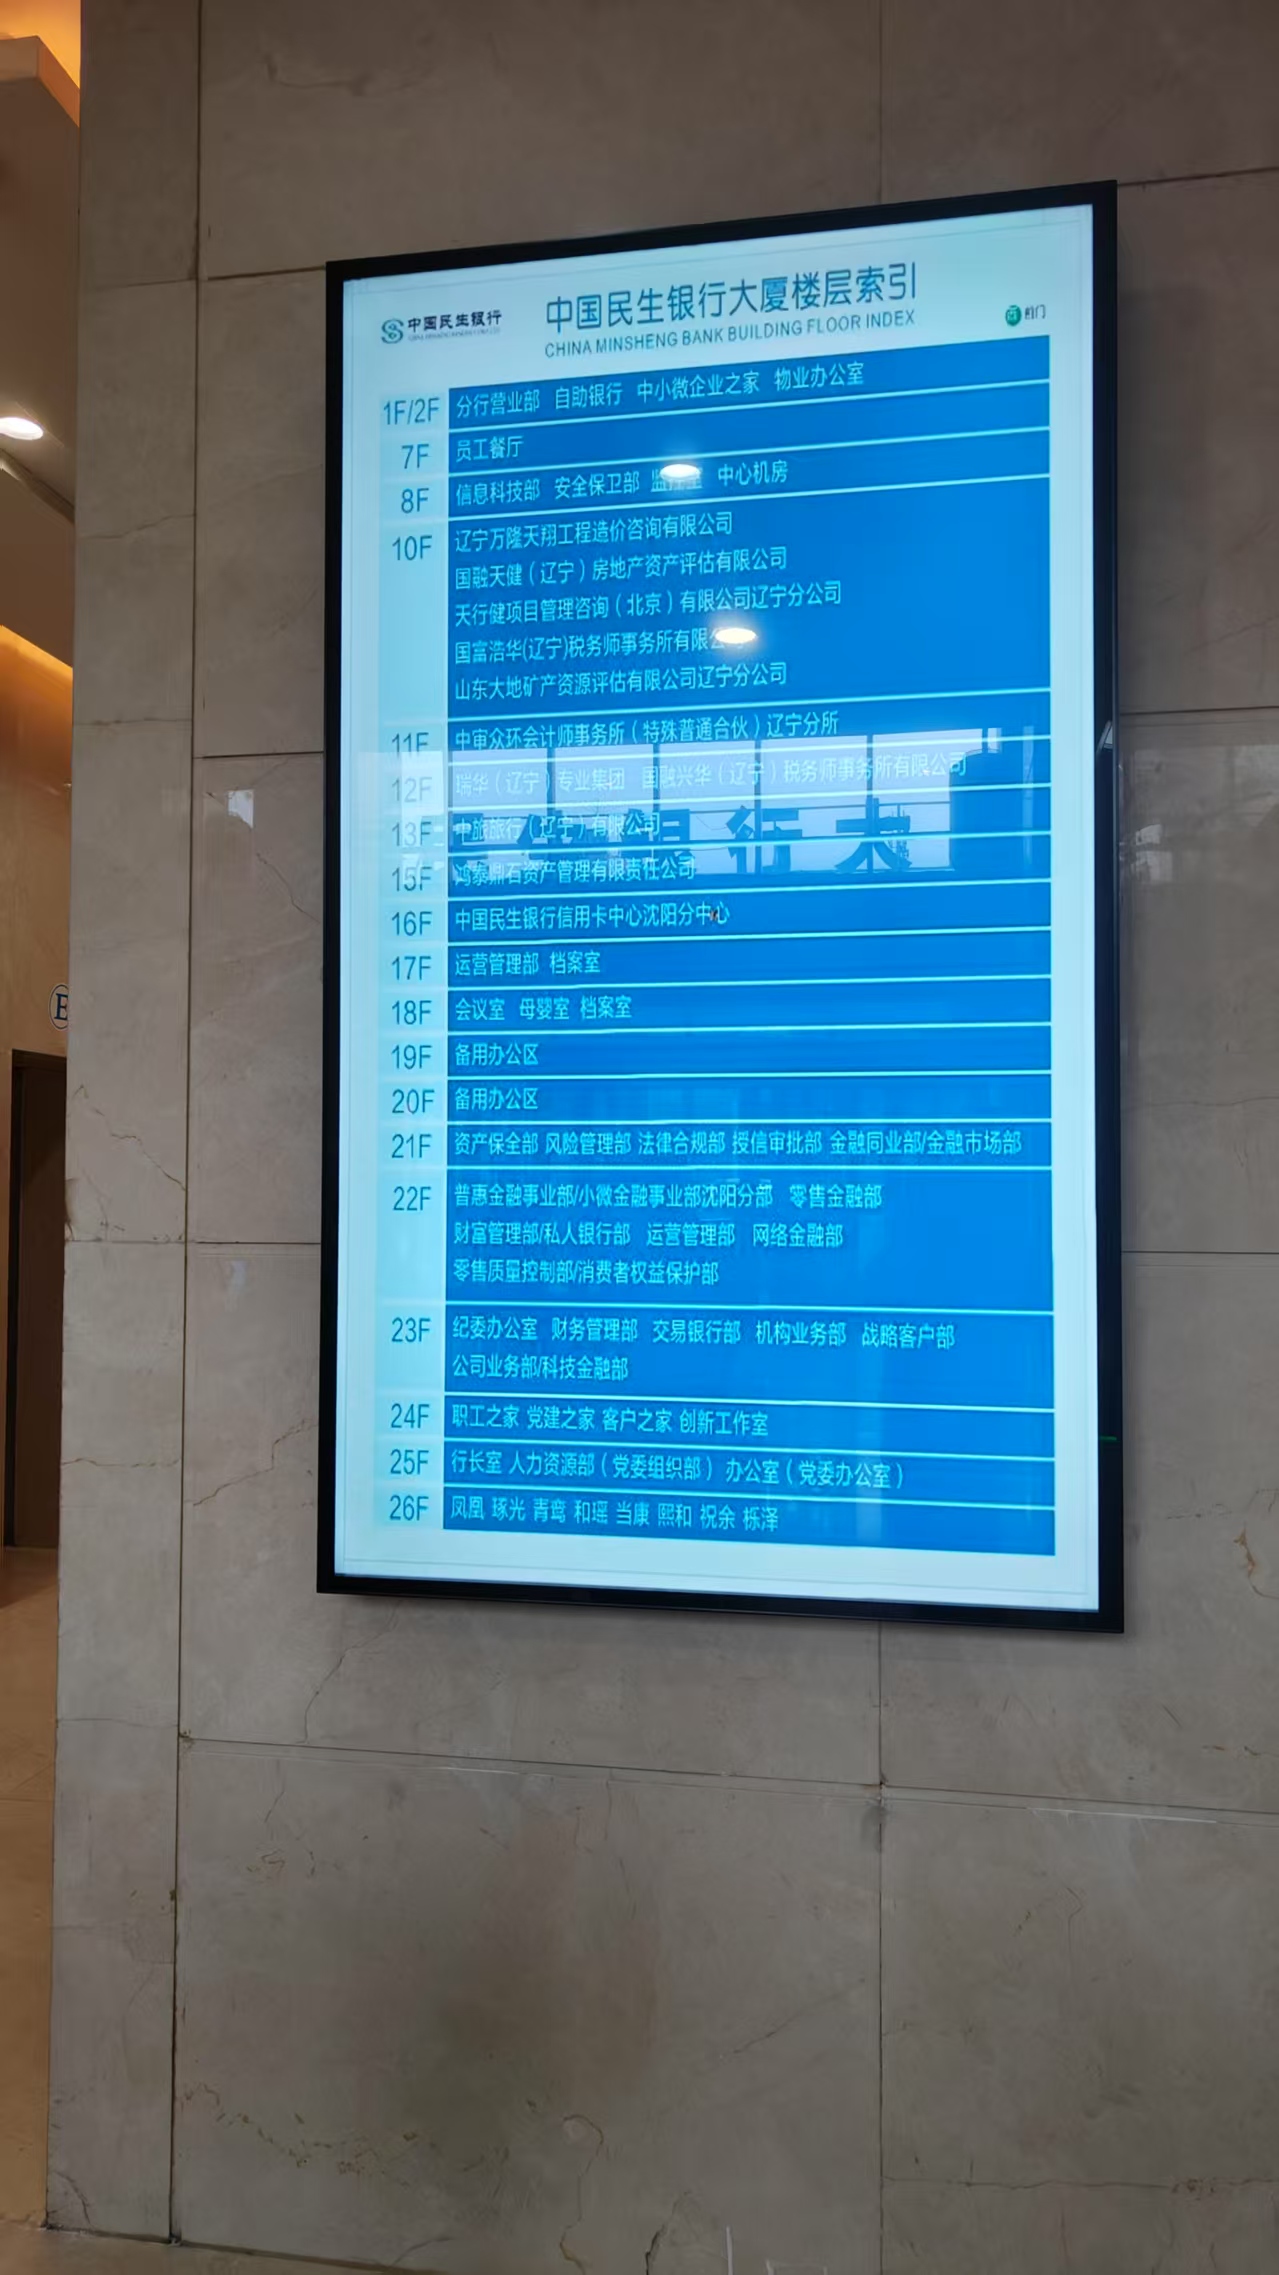
Installation of Wall-Mounted Advertising Display
Introduction
In the rapidly evolving world of digital advertising, businesses are constantly seeking innovative ways to capture the attention of their target audience. One such method is the use of wall-mounted advertising displays, which offer a dynamic and engaging platform for delivering content. This case study outlines the installation process of a wall-mounted advertising display at a high-traffic retail location, highlighting the key steps, challenges, and outcomes of the project.
Pre-Installation Planning
1. Site Assessment: Before the installation of the wall-mounted advertising displays, a thorough site assessment was conducted. This included evaluating the wall structure, identifying the optimal location for the display, and ensuring that the area had adequate power and network connectivity. The wall was made of drywall, which required the use of appropriate mounting hardware to ensure stability.
2. Content Strategy: A content strategy was developed in collaboration with the retail store's marketing team. The strategy focused on creating engaging and relevant content that would resonate with the store's customer base. This included promotional videos, product demos, and interactive quizzes.
3. Technical Specifications: The technical specifications of the display were carefully considered. The chosen model was a 55-inch HD LED display with a brightness of 500 nits, ensuring visibility even in well-lit environments. The display also featured a built-in media player and support for remote content management.
Installation Process
1. Mounting Bracket Installation: The first step in the installation of the wall-mounted advertising displays process was to install the mounting bracket on the wall. The bracket was securely attached to the wall studs using heavy-duty screws to ensure it could support the weight of the display. A level was used to ensure the bracket was perfectly horizontal.
2. Display Mounting: Once the bracket was in place, the display was carefully mounted onto it. The installation team ensured that the display was securely attached and that all connections (power, HDMI, and network) were properly routed through the wall to maintain a clean and professional appearance.
3. Power and Network Connectivity: The wall-mounted advertising displays required a power source and network connectivity to function effectively. A dedicated power outlet was installed near the display, and a network cable was run through the wall to connect the display to the store's local area network (LAN). This allowed for seamless content updates and remote management.
4. Content Upload and Testing: After the physical installation was complete, the next step was to upload the pre-prepared content to the display's media player. The content was tested to ensure it displayed correctly and that all interactive elements functioned as intended. The brightness and contrast settings were adjusted to optimize visibility in the store's lighting conditions.
5. Safety Checks: Finally, a series of safety checks were conducted to ensure the installation was secure and compliant with all relevant safety standards. This included verifying that the display was firmly attached to the bracket, that all cables were properly secured, and that there were no exposed wires or potential hazards.

