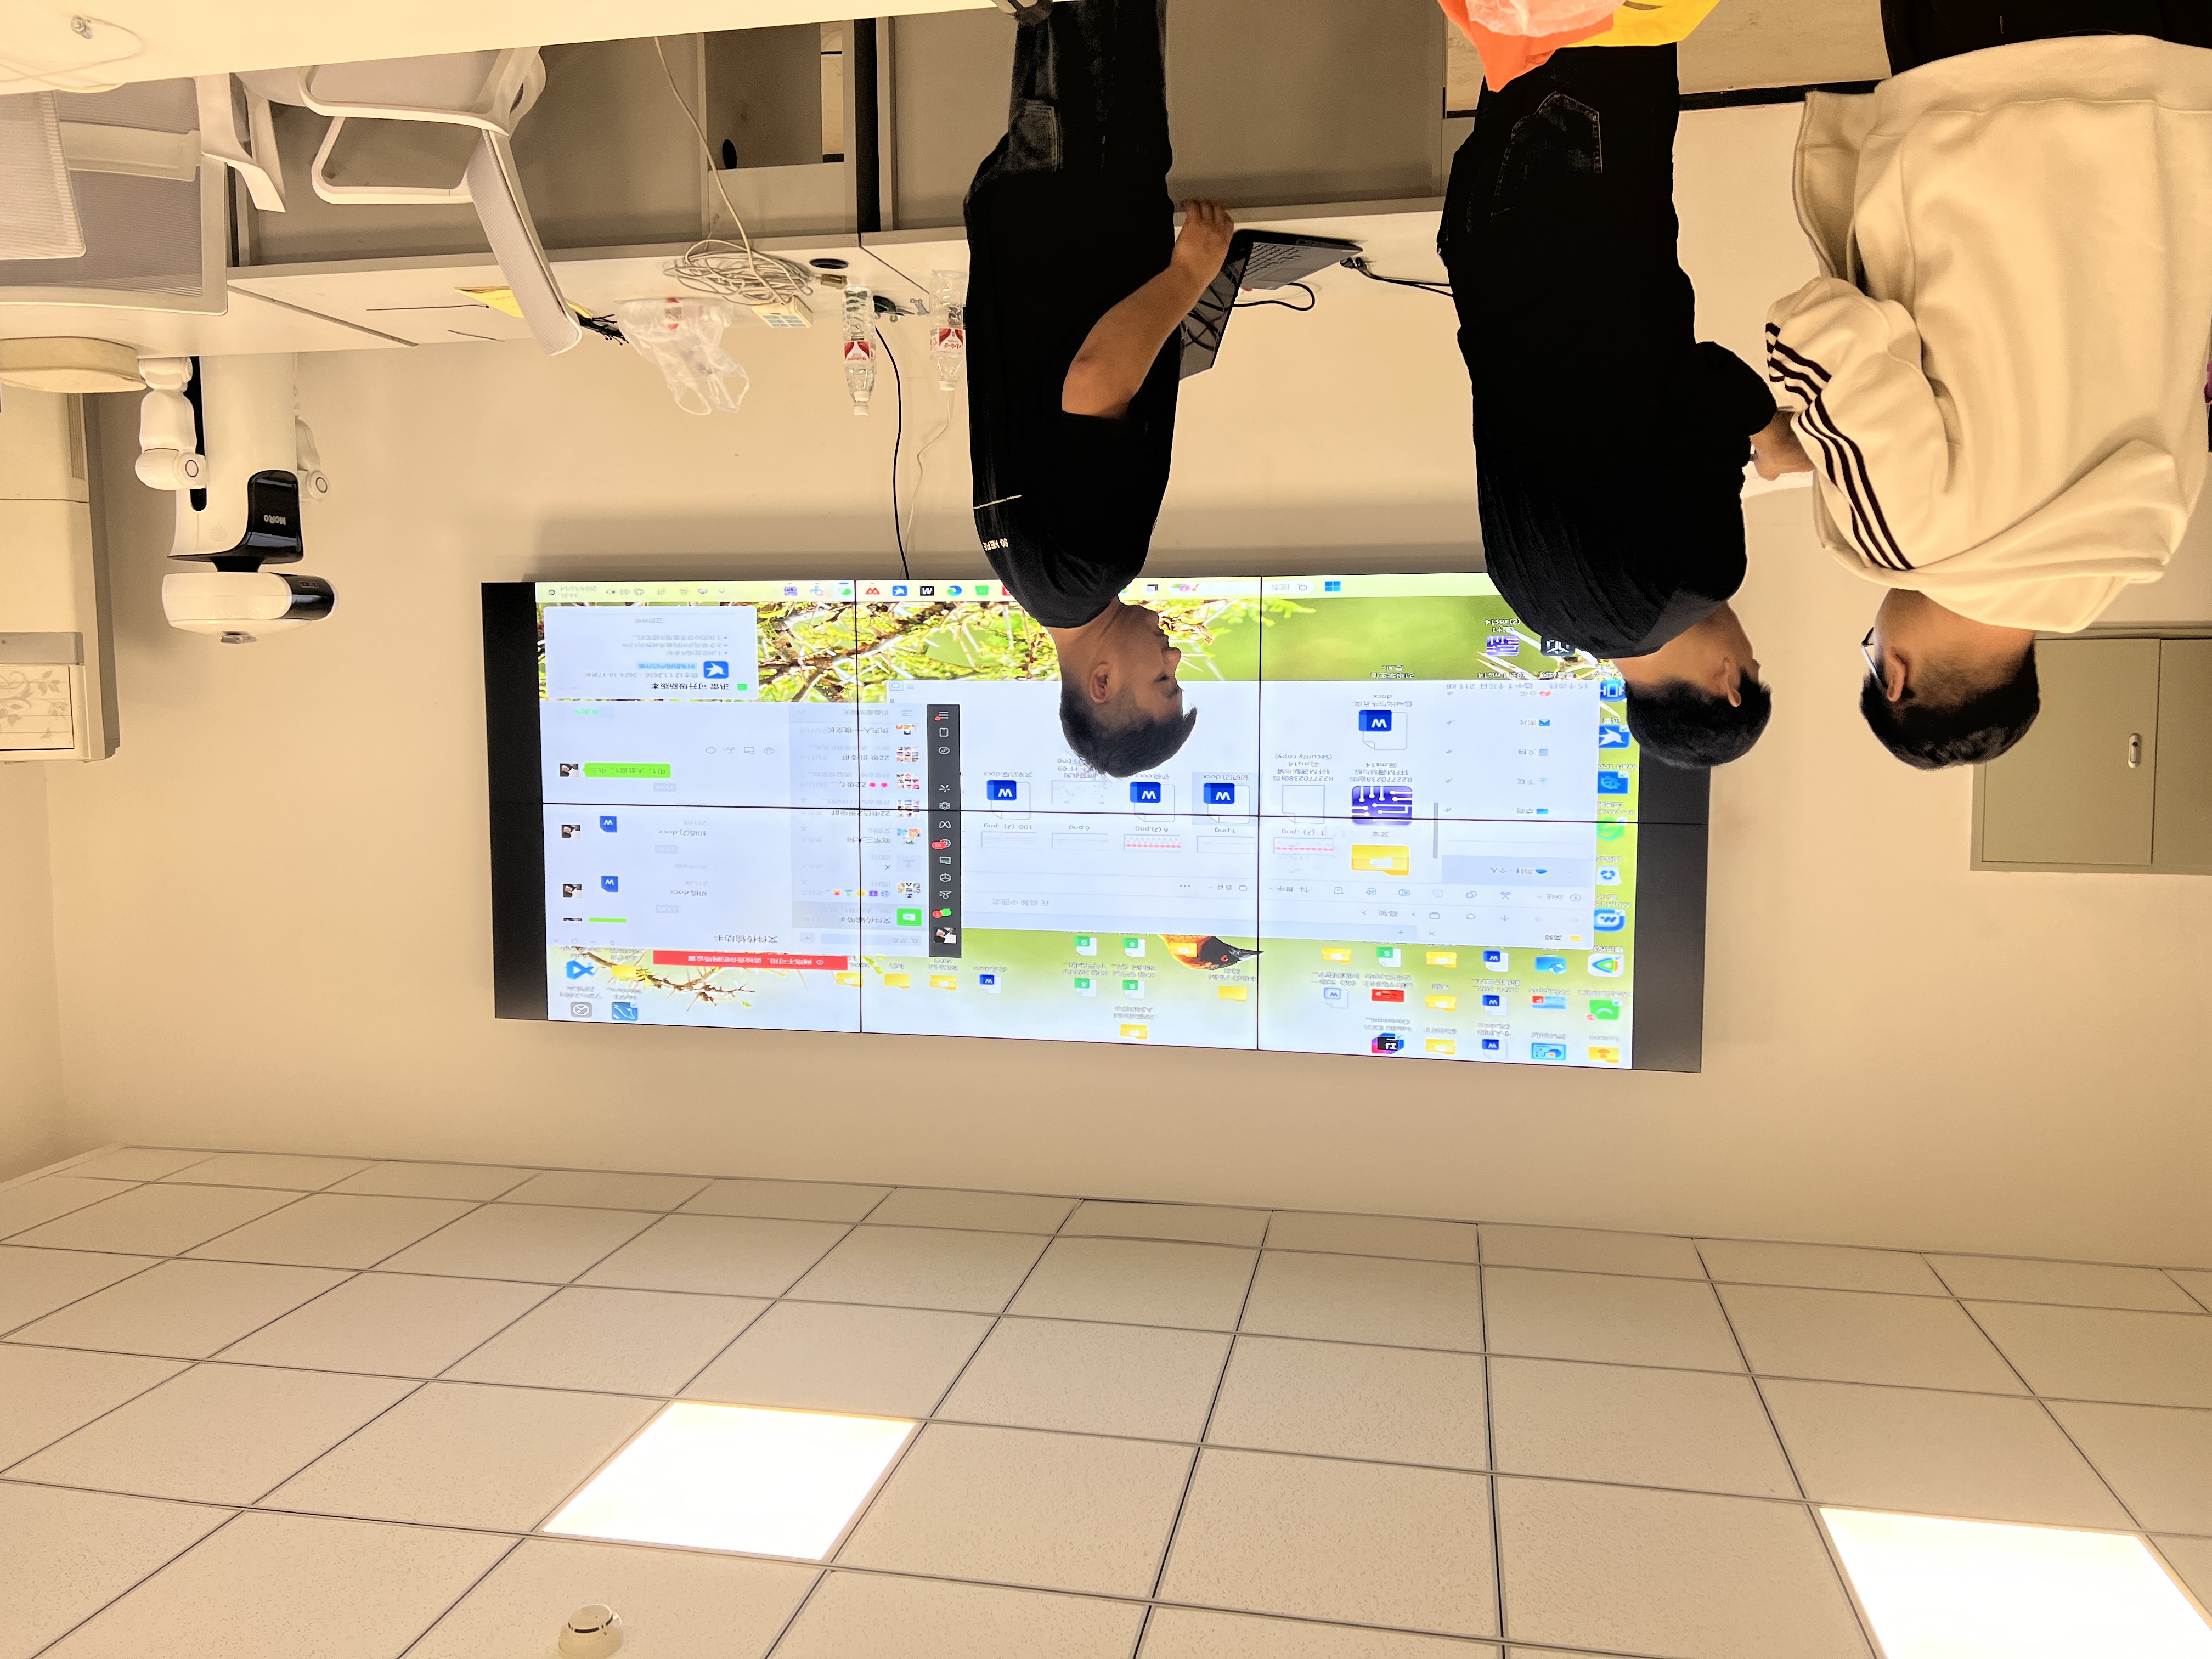
The installation steps of the lcd video wall
The process of installing a LCD video wall can be broken down into several key steps. First, determine the number and arrangement of displays required. This depends on the purpose of the visual presentation and the size of the space.
Second, clear the installation area and make sure all tools and equipment are at hand. Then, based on the previous design, install the monitor's stand or brackets of the lcd video wall to ensure its stability and precise alignment. After installation is complete, make cable connections between monitors to ensure that all power and data lines are functioning properly. At this point, you can also consider using a cable management system to hide cables, reduce clutter, and improve overall aesthetics.
Finally, the lcd video wall system is tested and adjusted. Turn on the lcd video wall system and check the brightness, color and contrast of each display to ensure consistent visuals throughout the video wall. This step is crucial because a good color calibration can significantly improve the viewing experience. For example, if the color deviation of a certain monitor will affect the overall effect of the entire screen, adjustments need to be made to ensure that the colors of all monitors are consistent.

