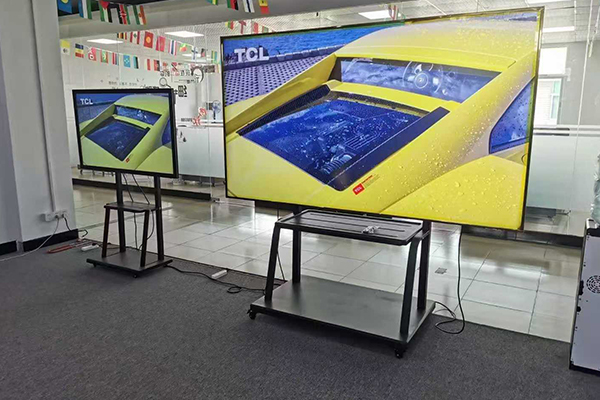
Conference Tablet All-in-One User Guide
1. Power on and interface navigation
Power on: Make sure the conference tablet all-in-one is properly connected to the power supply and press the power switch to power it on. After powering on, the screen usually displays the initial interface of the device.
Interface navigation: Familiarize yourself with the layout of the main interface of the device, including common function icons and setting options. Users can switch interfaces and select through the navigation keys on the remote control or touch screen.
2. Basic function operation
1. Wireless connection and screen projection
First pairing: When using it for the first time, connect the wireless screen transmitter to the USB port of the conference tablet to complete automatic pairing.
Computer screen projection: Connect the wireless screen transmitter to the USB port of the computer, open the corresponding screen projection program according to the operating system (Win or Mac), and then tap the button on the screen transmitter to start displaying the conference tablet. Press the button again to end the screen projection.
Mobile screen sharing: Open the "Wireless Screen Sharing" application of the conference tablet, scan the QR code with the mobile browser to download and install the Screen Sharing Assistant APP, connect to the same WiFi and click the "Start Screen Sharing" button to achieve wireless screen sharing.
2. Whiteboard writing and annotation
Start the whiteboard application: Find the option of "whiteboard" or similar icons in the main interface and click to enter.
Select writing tools: In the whiteboard interface, there is usually a row of toolbars, providing pens of different thicknesses, erasers, color selection and other tools. Users can choose the appropriate tool according to their needs.
Writing and annotation: Use your fingers or the matching stylus to freely write, draw graphics or insert pictures on the screen. All content will be displayed on the screen in real time, and support editing operations such as undo and redo.
Save and share: After writing, you can save the content as a picture or PDF file through the save button on the interface, and you can choose to share it with participants through email, cloud storage, etc.
3. File display and annotation
File import: You can import files in PPT, Word, Excel, PDF and other formats into the conference tablet through the USB interface, wireless network or cloud storage service.
File opening and display: Find the target file in the file manager and click open to display it. Support page turning, zooming and other operations.
Annotation and explanation: Use the whiteboard writing function to mark, underline or add text descriptions on the file to enhance the explanation effect.
4. Video conferencing and remote collaboration
Start video conferencing software: Find and start video conferencing software such as Zoom, Teams, Webex, etc. in the main interface.
Join a meeting: Enter the meeting ID or link and click Join the meeting for remote communication.
Screen sharing and collaboration: During the meeting, you can share the screen of the conference tablet with remote participants or invite them to remote whiteboard collaboration.
3. System settings and maintenance
Network connection: Make sure the device is connected to a stable network so that you can use cloud storage, video conferencing and other functions.
System updates: Check and install system updates regularly to get the latest features and security patches.
Cleaning and maintenance: Wipe the screen and body with a soft dry cloth regularly, and avoid using chemical cleaners or sharp objects to scratch the screen.
Troubleshooting: If you encounter a problem, you can refer to the device manual or contact after-sales service for troubleshooting and resolution.
Through the above steps, users can quickly get started and make full use of the functions of the conference tablet to improve the efficiency and quality of meetings. During use, it is recommended to continuously learn and explore new functions and application scenarios to better unleash the potential of the device.

