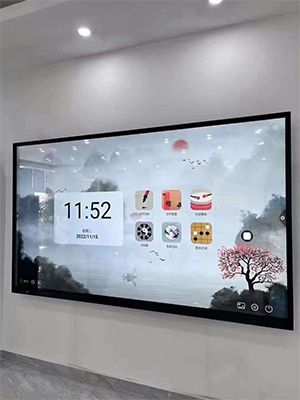
Installation methods of interactive whiteboard
Installation Methods of Interactive Whiteboard
1. Install the bracket: Confirm that the bracket size and hole spacing meet the requirements, assemble the bracket according to the instructions and fix it on the wall or other bracket location.
2. Connect the power cord: Plug into the power socket of the conference interactive whiteboard, and plug the other end into the power socket.
3. Connect the TV cable: Choose a suitable interface cable (such as HDMI, VGA), connect one end to the interface of the conference tablet, and the other end to an external display device (such as a TV, projector).
4. Connect the network cable: Select a network cable with a suitable network caliber and type, and insert it into the conference tablet and network line.
5. Turn on the all-in-one conference tablet: Press the power button to start the all-in-one conference tablet, and follow the system prompts to set it up (such as using it for the first time).
6. Test the equipment: Test after the connection is completed to ensure that all equipment is functioning properly. If there is a problem, you can refer to the manual to troubleshoot and repair it.

