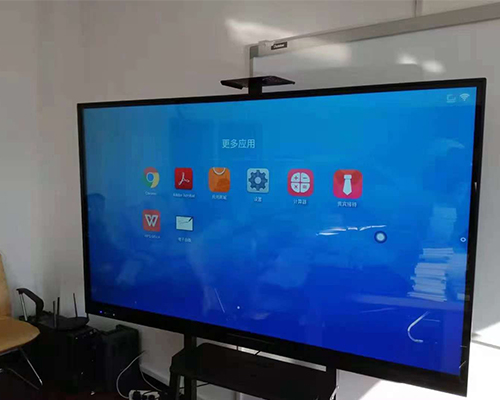
Installation of smart interactive whiteboard
Installation of Smart Interactive Whiteboard
Step 1: Before installing the mobile bracket, please place the conference interactive panel horizontally on the platform (screen facing down). There must be a soft object interval (such as rubber pads, cotton cloth, foam, etc.) between the conference tablet and the tabletop to avoid damage to the surface of the conference tablet.
Step 2: Before installing the bracket, carefully check the specifications and quantity of the bracket assembly and the fasteners in the accessory package to ensure correctness.
Step 3: Use the arm screws of the two wall-mounted brackets to fasten the connection. It is strictly forbidden to hang the conference tablet upside down to ensure the stability and safety of the conference tablet.
Step 4: Fasten the casters to the base plate with screws. Make sure that each caster is connected to the base plate with screws.
Step 5: Fasten the bracket to the base plate.
Step 6: Connect the partition to the bracket by tightening the screws. The wall-mounted plate and the bracket are fastened in sequence by screws.
Step 7: Install the conference tablet with the long side of the vertical display area horizontal.

