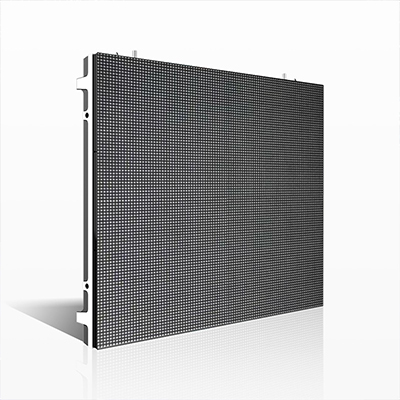
LED display installation steps
LED display installation steps
1. Insert the DVI display card into the AGP slot of the motherboard, and install the card driver.
2. Insert the data acquisition card into the free PCI slot (if used).
3. Connect the data acquisition card and the display card together with a DVI cable.
4. Connect the control line to the serial port (Rs232) (optional, required by Lingxingyu system).
5. Connect to the receiving card with a network cable. (The exact figure depends on the engineering drawing).
6. After checking whether the connection is correct, you can set or turn on the power for debugging.
LED video wall installation steps The software installation steps are as follows:.
1. Graphics card driver installation.
Insert the graphics card driver CD into the CD-ROM drive, it will automatically enter the installation state, please follow the prompts.
Install DirectX8.1 first. Then install the driver. Finally install the control panel.
2. Player software.
Install special playback and setting software for Big Screen LED Studio, or other control software.
Insert the application software CD that comes with the screen into the CD-ROM drive, and copy or install all programs to the computer.
1. Turn on the screen: Please turn on the computer first, and then turn on the electronic screen.
Connect the power supply to each device (make sure the input voltage meets the product requirements).
Turn on the LED digital signage (when the screen is powered on, there will be an area flashing, indicating that the screen is powered on), turn on the computer, make sure the graphics card is set correctly (if it is not correct, there will be no display, that is, a black screen), open the control software, and perform basic pixel size and display Area setting (this setting does not affect the display of the LED advertising display).
2. Turn off the screen: first turn off the power of the LED screen, turn off the control software, and then turn off the computer properly.

